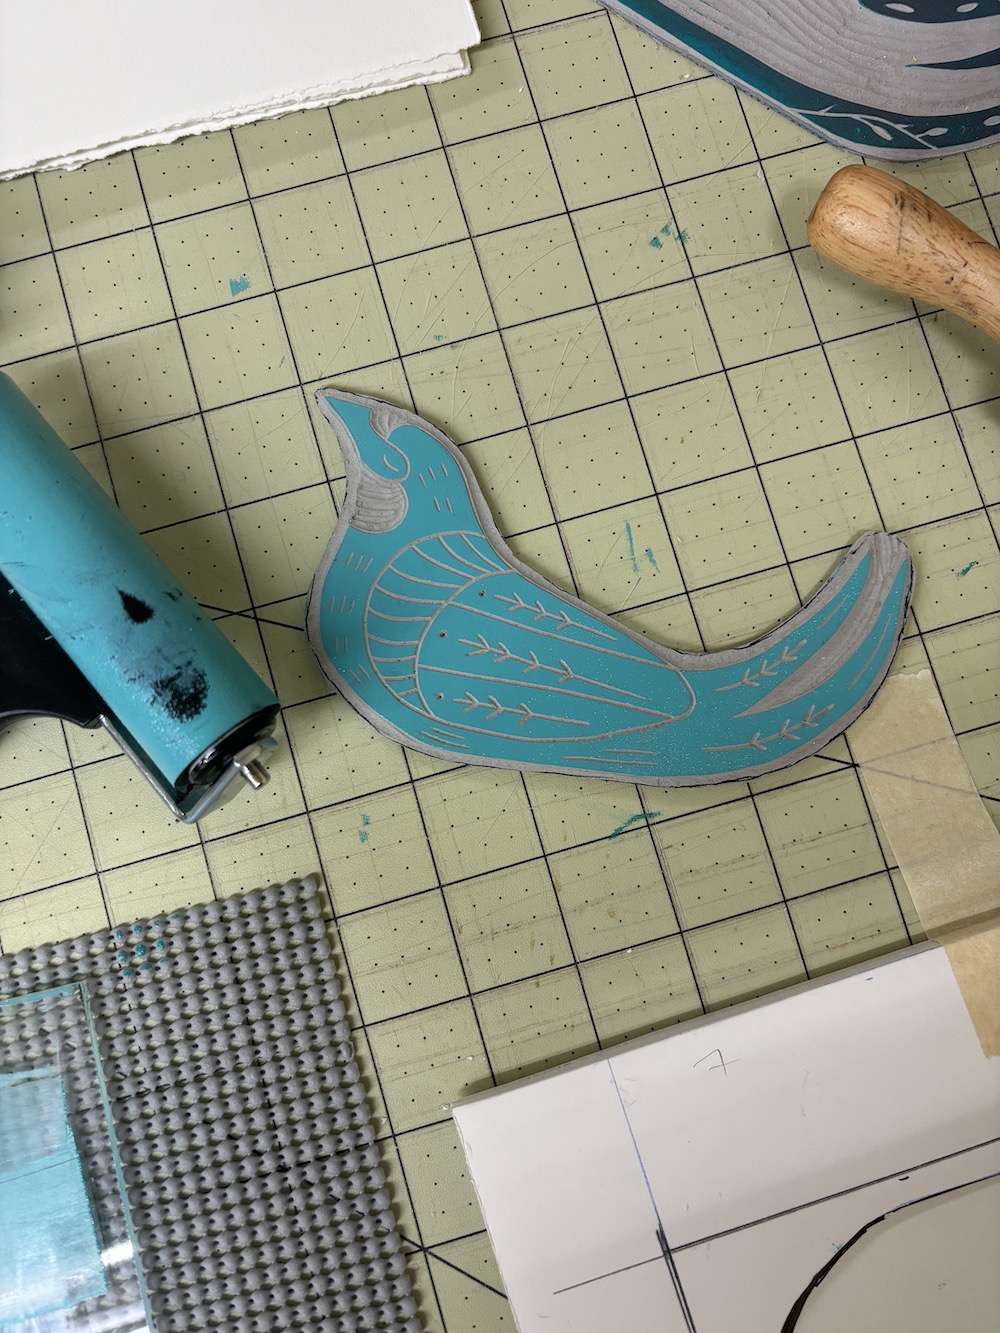
I took a printmaking class last week because I finally wanted to learn how to properly set up multi-colour relief prints. Back in college, I mentally checked out when our teacher went over that because
A) It wasn't required
B) It seemed complicated at the time.
I've tried multi-coloured prints on my own in the past, but I could never properly set up the registration process and basically "winged it".
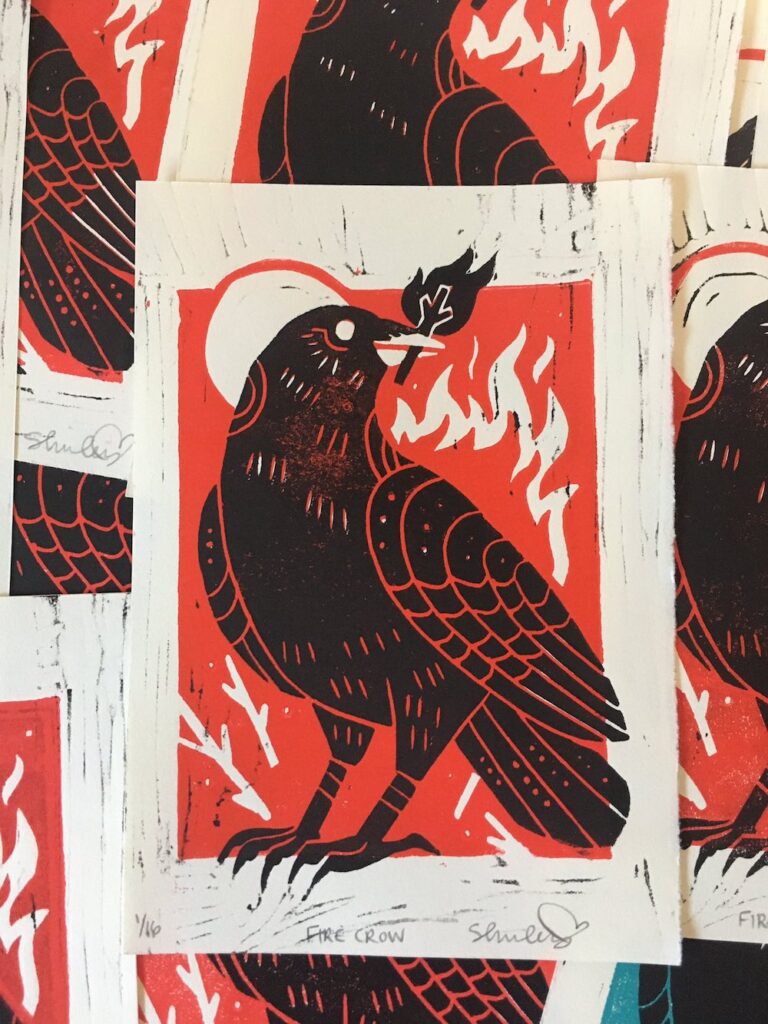
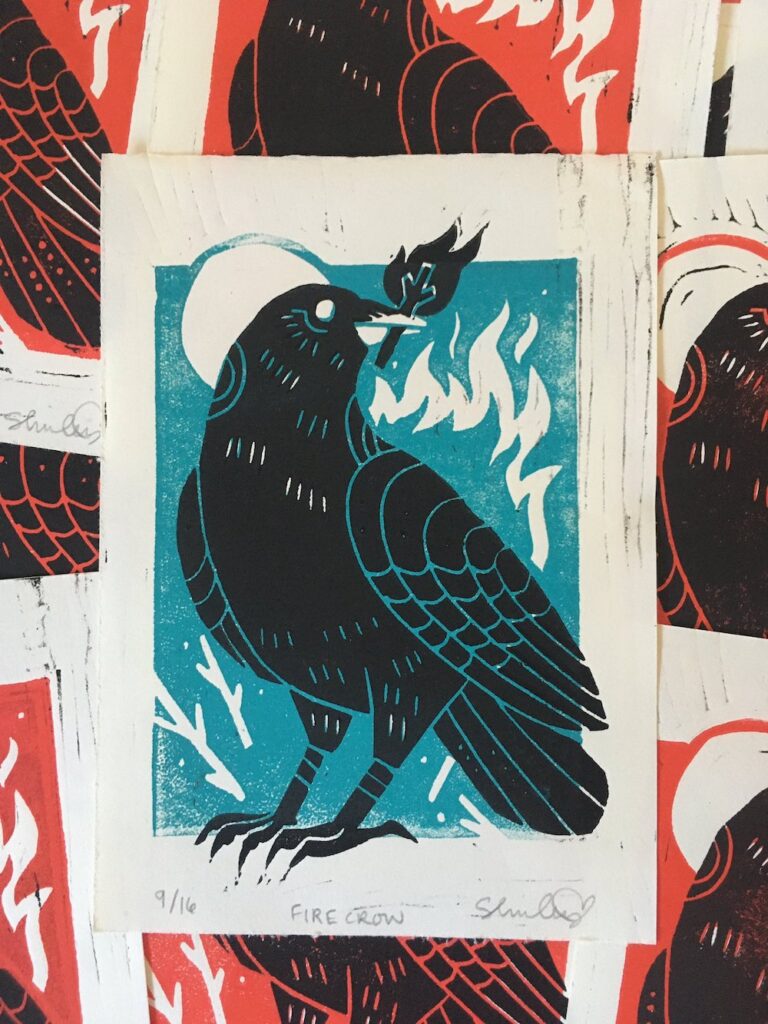
My passion for printmaking has kind of waned in recent years. I love the medium so much, but I feel like I lack when it comes to using it to it's fullest potential (as well as my own). I find that I'm much too controlling and I don't really allow the tools to be themselves. And I kind of stopped "playing" with the process.
So for this class, I wanted to do things differently in the hopes that it would open me up to learning new things. We were given a sketchbook, pencil, and magic marker for the sketching phase of the process.
And from then on there, I decided I wanted to do everything for this class the analog way with zero digital tools.
It's been so long since I just sat and sketched for a couple of hours, allowing myself to just scribble out different ideas. And it's been even longer since I did that using pencil and paper.
There's just something about literally making marks, feeling the texture of the pencil travel through your fingers and up your arm until it connects with your brain.
I think there's a part of the process that gets missed when you're working digitally and have the ability to crtl+z mistakes away. Working within the confines of traditional tools that don't necessarily allow for easy erasing (or erasing away 100%) can open the way for "happy accidents", as Bob Ross used to say.
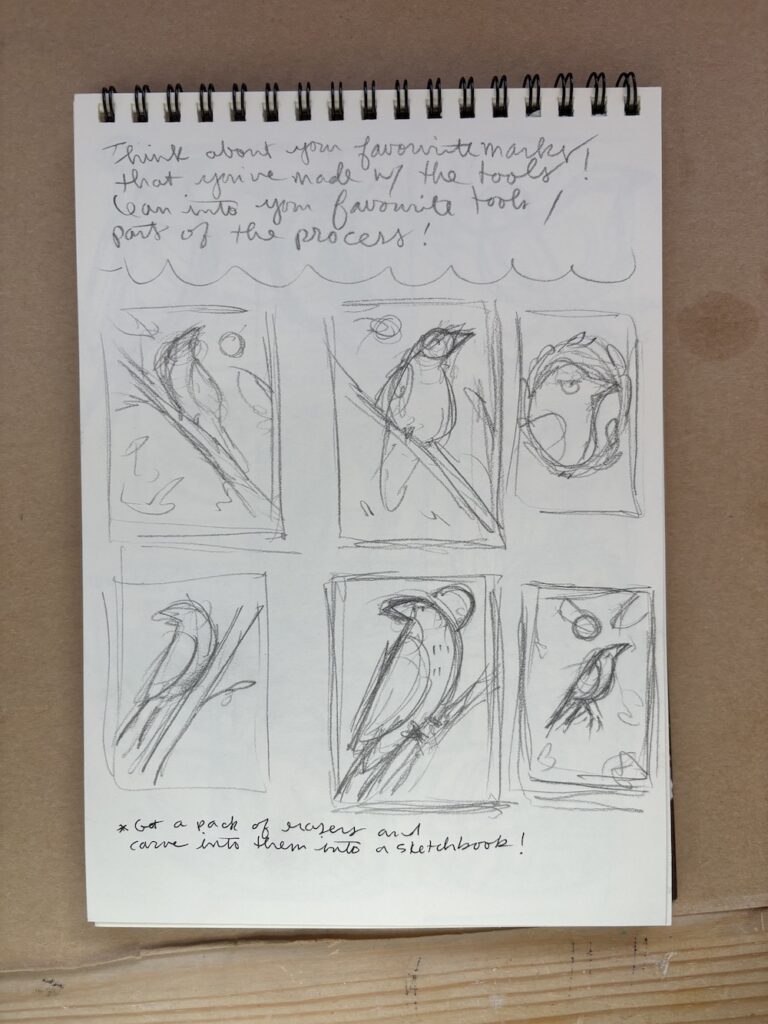
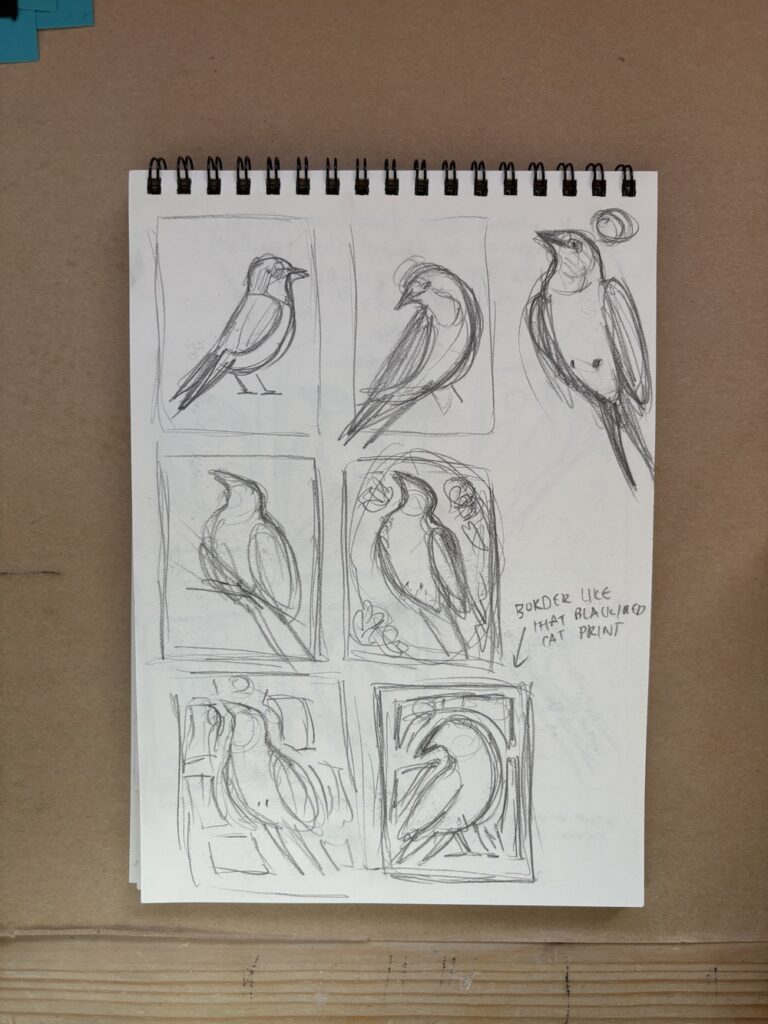
I was swimming with so many ideas and print possibilities! I literally struggled to fall asleep after the first class because I was positively consumed with all of the different avenues and paths I could take for my design LMAOO
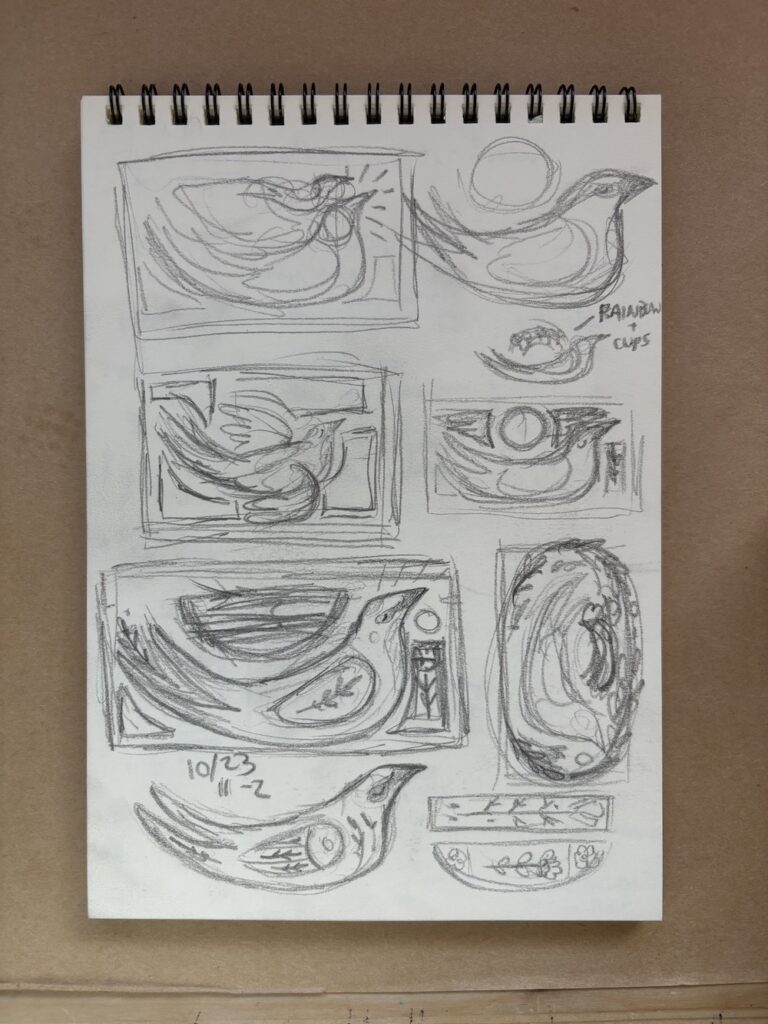
I finally figured out my concept and worked on refining it. Because I didn't want to utilise digital tools, I ended up making an oval shaped template out of paper so I could trace it over and over again if need be.
During the sketch refinement process, I didn't want to get too attached to the design details like I usually do. To let go of some of that control, I decided to just have the majority of the details and line work simply exist as "suggestions". And when I got to the carving stage, I could allow the tools to speak on their own and go with the flow within the carving process.
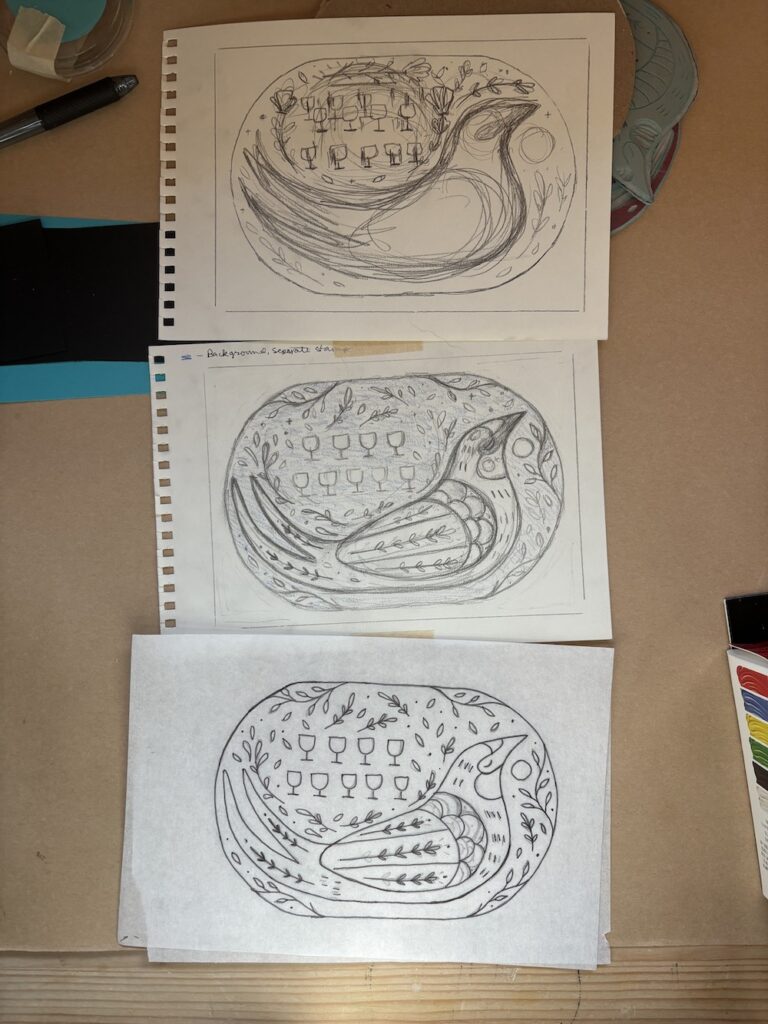
This class got me into using materials I never really thought about using such as tracing paper!
I'm not really sure why I never bothered to use it before, but I found it to be incredibly helpful when I was finalising the design before transferring onto the block.
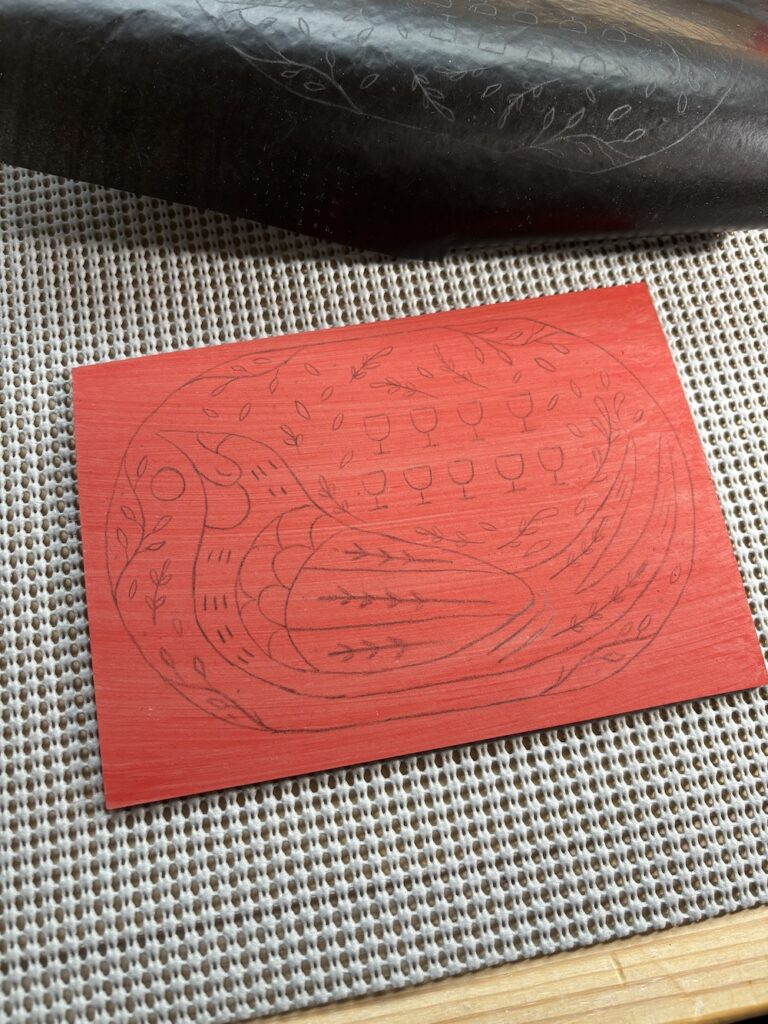
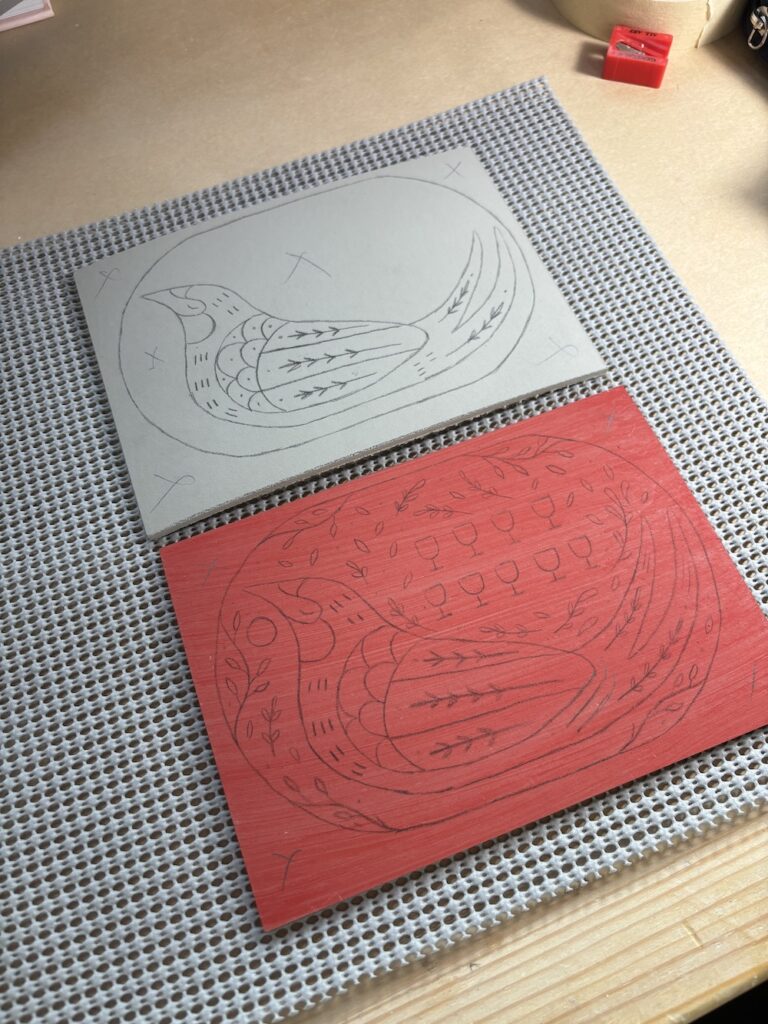
One way to do multi-coloured block prints is to basically create your plates in a puzzle-like manner using only one lino block. This was my original intention, but I later realised that my design would be better suited using two blocks instead of one.
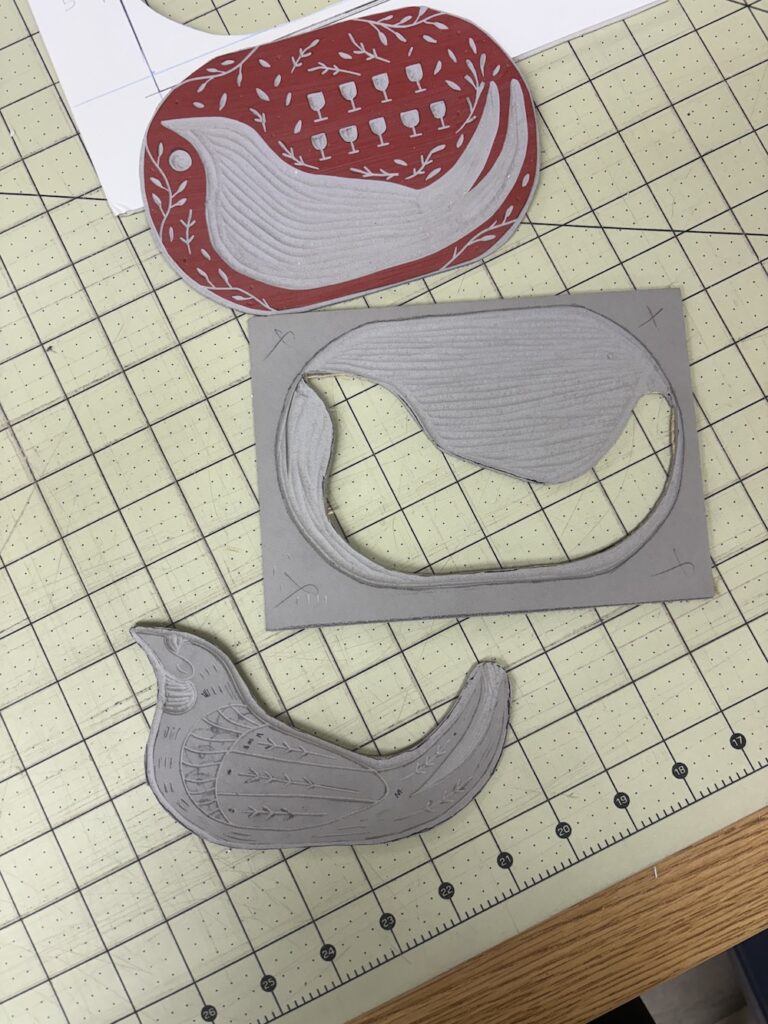
For my design, I ended up needing to make a frame template out of foam board. This allows me to create registration marks for my paper, so that each print and the paper margins are as perfect as possible.
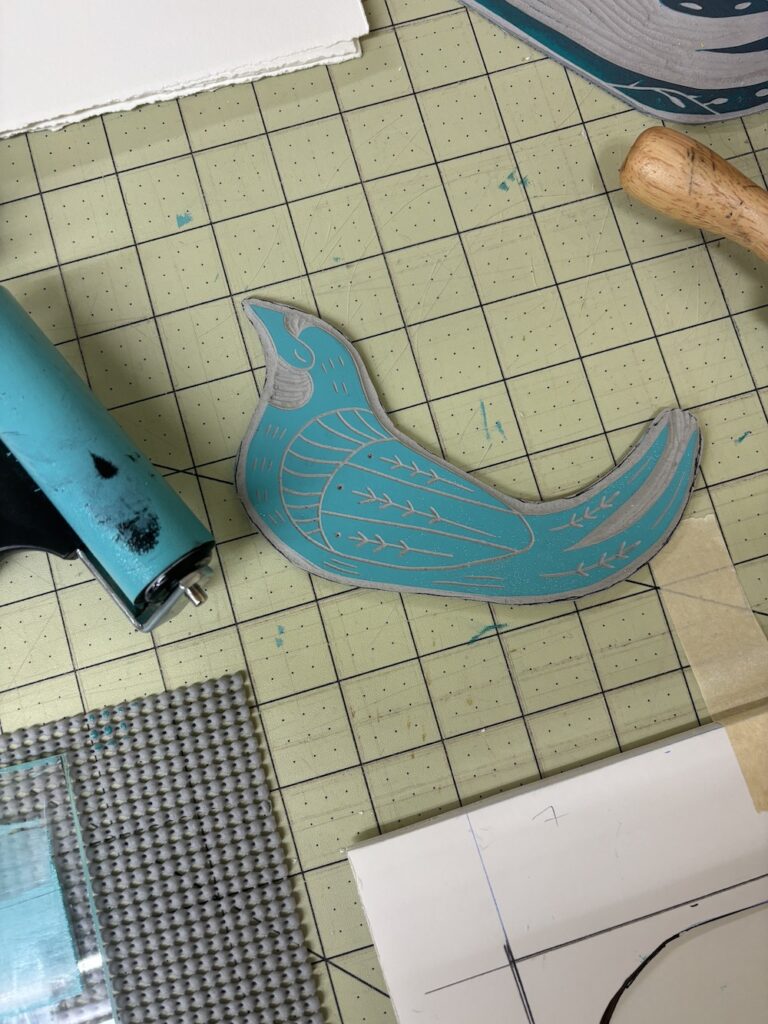
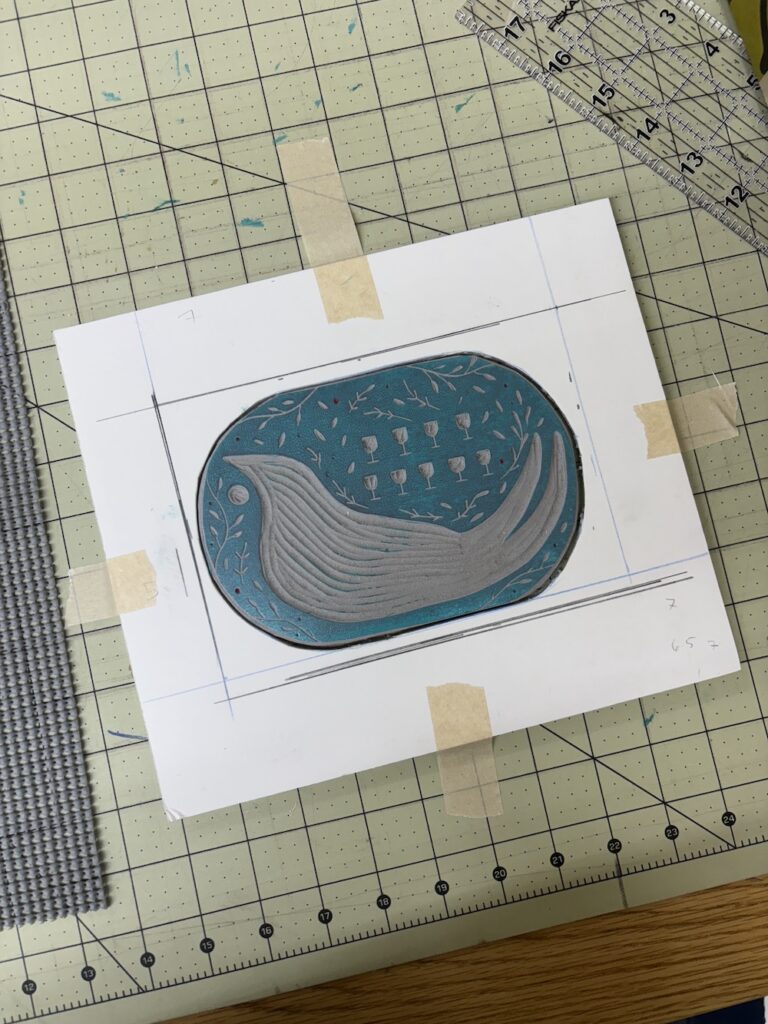
The paper we used in class was a brand I had never used before. And it ended up being kind of garbage—the tooth of the paper did not allow for a clean print and created this unwanted, rough texture.
But I tried printing in the sketchbook and got a slightly cleaner print before I ran out of time on our last day of class.
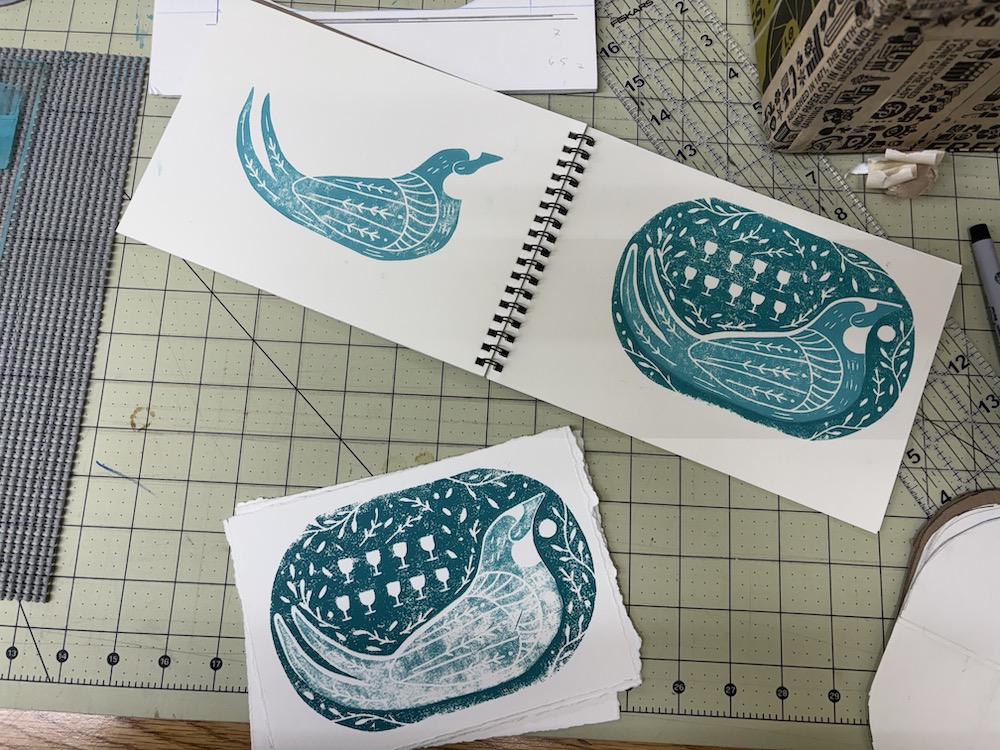
All in all, I'm so happy that I took this class! I learned way more than what I originally intended. And it also felt good to just talk shop about art with other people in-person, our inspirations, and why we love making and creating art in the first place. My passion and fire for printmaking has also come back to life, and I'm so excited to just play with printmaking much like how I play with pottery and ceramics!
